Follow Me On Social Media!
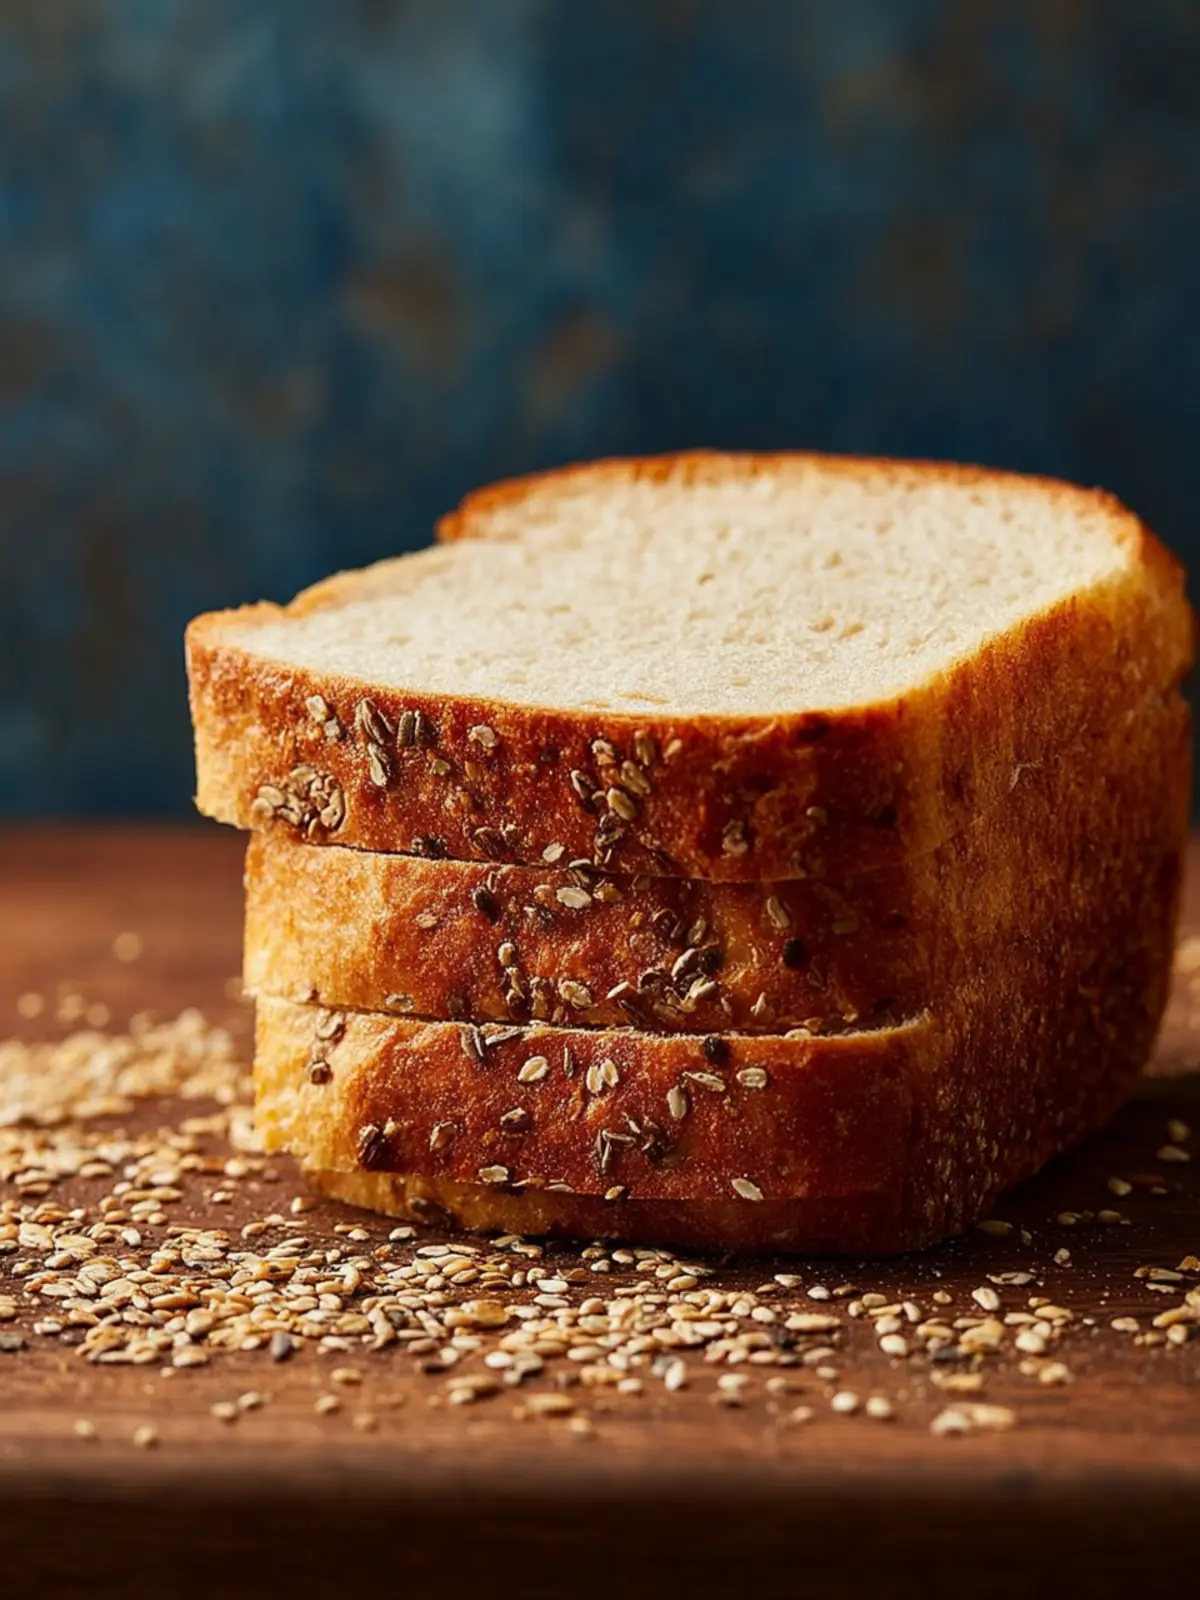
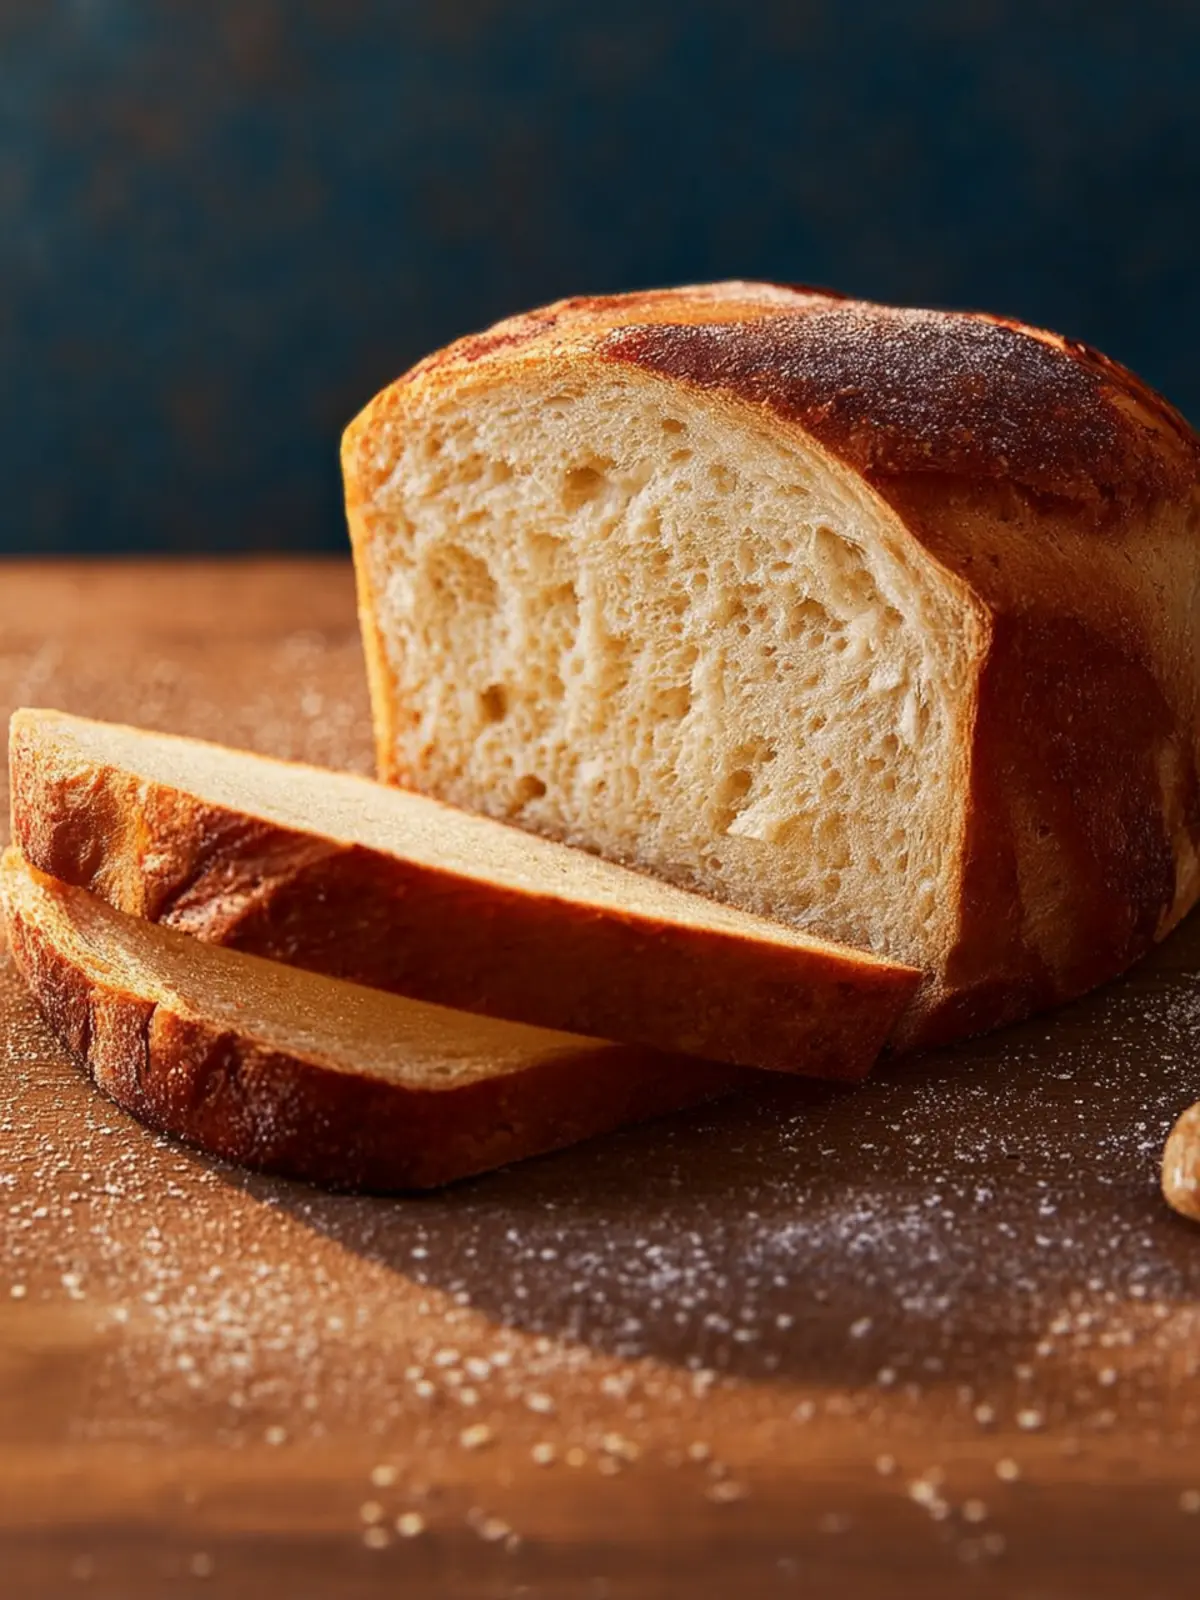
Easy Gluten-Free Bread That’s Soft, Fluffy, and Irresistible
Introduction to Easy Gluten-Free Bread
Creating easy gluten-free bread at home can be a transformative experience for anyone adjusting to a gluten-free lifestyle. Imagine walking into your kitchen, greeted by the warm aroma of freshly baked bread that is not only delicious but also kind to your digestive system. For many, gluten-free options can feel limited and expensive, but making your own bread can offer a sense of control and satisfaction, all while being significantly more affordable.
What makes this recipe particularly appealing is its simplicity. In just a few steps, you can craft a loaf that is light, fluffy, and versatile—perfect for sandwiches, toasts, or even as a side for your favorite soups. Whether you’re new to gluten-free baking or a seasoned pro looking for an easier method, this recipe is designed with you in mind.
What makes gluten-free bread so appealing?
There are so many reasons to love easy gluten-free bread. For starters, it caters not only to those with celiac disease but also to individuals who are gluten-sensitive or simply looking for healthier alternatives. Gluten-free bread often incorporates a variety of wholesome ingredients, making it a nutrient-packed option. Here’s why many find easy gluten-free bread irresistible:
- Health Benefits: Gluten-free bread is often made with a mix of flours like almond, coconut, or oat, which are rich in vitamins and minerals.
- Versatility: Whether you prefer a hearty whole grain loaf or a light sandwich bread, gluten-free recipes can cater to a wide range of flavor preferences and dietary needs.
- Homemade Happiness: There’s something truly special about baking your own bread. Not only does it fill your home with delightful scents, but it also gives you the satisfaction of creating something wholesome for you and your loved ones.
- Customization: When you bake at home, you can tweak the ingredients to suit your taste. From adding seeds for crunchiness to mixing in herbs for flavor, the possibilities are endless!
By choosing to make your easy gluten-free bread, you not only embrace a healthier way of eating but also the joy of baking at home. It’s an experience worth savoring, one loaf at a time.
Key Ingredients for Easy Gluten-Free Bread
Creating easy gluten-free bread at home is not just a necessity; it’s a wonderful experience that fills your kitchen with warmth and tantalizing aromas. Each ingredient plays a crucial role in achieving that perfect loaf, so let’s explore the essentials.
Gluten-Free Flour Blend: To get the perfect texture, I recommend using a quality gluten-free all-purpose flour blend. This creates a soft, tender crumb. Avoid blends with added gums, as they can affect the bread’s rise.
Yeast: Fresh yeast makes a world of difference. It acts as the leavening agent, giving the bread that delightful rise and airy texture. Always check the expiration date to ensure a successful bake.
Eggs: Eggs provide structure and moisture, crucial for fluffy bread. Whisking them lightly before adding helps integrate them smoothly into the mixture.
Liquid Ingredients: A combination of warm water and oil is essential. Warm water helps activate the yeast, while oil provides moisture, resulting in a rich and flavorful bread.
Salt: Don’t overlook salt; it enhances all the flavors in your bread and controls fermentation. Just the right amount makes a significant impact on the final product.
Why You’ll Love This Recipe
When you bite into a slice of easy gluten-free bread, the satisfaction is extraordinary—not just because it’s delicious, but also because it’s so simple to make. Picture this: you come home after a long day, craving that comforting aroma of freshly baked bread wafting through your kitchen. With this recipe, that dream becomes a reality in mere minutes. It’s the kind of recipe that fits smoothly into your busy life, leaving you more time to enjoy your evenings without compromising on flavor or quality.
Quick Prep with Minimal Fuss
You’ll appreciate the straightforward nature of this recipe. It requires ingredients that are likely sitting in your pantry, eliminating the hassle of a lengthy grocery list. Plus, the easy gluten-free bread comes together without the need for complicated equipment or advanced skills. Just mix, pour, and bake—it’s truly that easy!
Delicious Versatility
This bread is not just gluten-free; it’s also a blank canvas for your culinary creativity. Want to add herbs? Go for it. Interested in incorporating seeds or nuts? Perfect! Enjoy it as toast in the morning, as a sandwich at lunch, or as a side to your dinner. The possibilities are endless, making it a staple in your kitchen that you’ll turn to time and time again.
When comfort food meets ease, you know you’ve found a winner. Don’t just take my word for it—try it yourself, and you’ll understand why this easy gluten-free bread will quickly become a favorite in your household.
Cooking Tips and Notes for Easy Gluten-Free Bread
Baking easy gluten-free bread can be a delightful experience, especially when you understand the nuances of gluten-free ingredients. Each component plays a vital role in achieving that perfect loaf that’s both soft on the inside and crusty on the outside. Let’s dive into some essential tips for making your bread stand out.
Choosing the Right Flour:
Opt for a high-quality gluten-free flour blend, as this will significantly affect your bread’s texture. Look for a mix that includes a variety of flours, like brown rice, tapioca, and sorghum, which can provide a well-rounded flavor.
Don’t Skimp on Hydration:
Gluten-free flours require more liquid than traditional ones. Adding extra water or even a splash of milk can make your dough more pliable. It’s worth it to maintain that lovely moisture in your bread!
Using Binders:
Ingredients like xanthan gum or psyllium husk are crucial as they help mimic the elasticity that gluten provides. Make sure to incorporate these in the right amounts—too little may result in a crumbly loaf.
Let It Rise:
Patience is key! Allow your dough ample time to rise; this helps develop flavor and texture. Warm environments can work wonders, so consider using your oven’s proof setting or a warm spot in your kitchen.
With these handy tips, your adventure in baking easy gluten-free bread will be an enjoyable one! Happy baking!
Serving Suggestions for Easy Gluten-Free Bread
When you whip up your easy gluten-free bread, you’re not just baking a loaf; you’re creating a canvas for countless culinary delights. This versatile bread can easily elevate any meal, whether it’s breakfast, lunch, or dinner.
Breakfast Delights
- Avocado Toast: Mash ripe avocado and spread it on a warm slice. Top with salt, pepper, and red pepper flakes for a breakfast that’s both trendy and satisfying.
- Toast with Nut Butter: Slather almond or peanut butter on your bread and add slices of banana or strawberries for a sweet morning treat.
Lunch Options
- Sandwiches: Stack your favorite deli meats, cheeses, and veggies between slices of your easy gluten-free bread for a filling lunch. Consider a classic turkey and swiss with mustard!
- Bruschetta: Cut the bread into smaller pieces, toast them lightly, and top with a mix of chopped tomatoes, basil, and balsamic vinegar.
Dinner Pairings
- Garlic Bread: Brush slices with garlic-infused olive oil or butter and toast until golden. Serve alongside pasta or salads for a delightful addition.
- Open-Faced Melts: Top a slice with cheese and your favorite veggies, then broil until bubbly and golden for a quick dinner fix.
No matter how you choose to enjoy your easy gluten-free bread, you’ll find that it’s adaptable and delicious. Happy baking!
Time Breakdown for Easy Gluten-Free Bread
Understanding the time involved in creating easy gluten-free bread can make your baking experience smoother and more enjoyable. Each step contributes to the delightful loaf you’ll soon be proud to serve.
Preparation Time
First, allocate about 15 minutes for preparation. This is when you’ll gather your ingredients, measure them accurately, and mix everything together. A little organization goes a long way!
Rising Time
Next up is the rising time, which takes around 60 to 90 minutes. During this period, the dough needs to rest and rise, allowing the flavors to develop and the texture to lighten.
Baking Time
Then, you’ll spend approximately 45 minutes baking your gluten-free bread. It’s the magic time when your home will fill with that irresistible aroma, signaling that something delicious is happening in the oven.
Total Time
In total, you are looking at about 2 to 2.5 hours from start to finish. Embrace the process, and soon you’ll enjoy that warm, homemade easy gluten-free bread right out of the oven!
Nutritional Facts for Easy Gluten-Free Bread
Creating your own easy gluten-free bread not only fills your home with the comforting aroma of freshly baked goods but also accommodates your dietary preferences. Let’s break down the key nutritional components to give you an idea of what’s in every slice.
Calories
One slice packs approximately 120 calories, making it a great option for a healthy snack or a base for your favorite toppings.
Protein
With about 3 grams of protein per slice, this easy gluten-free bread adds a modest boost to your daily intake, especially when enjoyed alongside a protein-rich spread like nut butter.
Carbohydrates
Containing around 22 grams of carbohydrates, this bread provides a satisfying source of energy. This balance makes it perfect for brunch or as a base for delicious sandwiches.
Enjoy every bite knowing you’ve whipped up something not only tasty but packed with nutrition!
FAQs about Easy Gluten-Free Bread
If you’re discovering the joys of easy gluten-free bread, you’re likely eager to learn more about baking this delicious and accessible treat. Questions often arise, especially if you’re new to gluten-free cooking. Here’s a helpful guide to tackle some frequently asked questions to make your bread-making experience seamless.
Can I use whole eggs instead of egg whites?
Absolutely! While this recipe specifically calls for egg whites to achieve a lighter texture, you can use whole eggs instead. Just keep in mind that adding the yolks may result in a denser loaf. If you’re okay with a bit of extra richness, go ahead and make the switch!
How can I make this bread dairy-free?
Making your easy gluten-free bread dairy-free is quite simple. Instead of using regular milk, you can substitute almond milk, oat milk, or any other plant-based milk. Additionally, if the recipe calls for butter, coconut oil or a dairy-free margarine works excellently. This way, you can enjoy your homemade bread without any dairy concerns.
What’s the best way to store gluten-free bread?
To keep your gluten-free bread fresh, store it in an airtight container at room temperature for up to three days. For longer storage, slice and freeze the bread in a single layer, then transfer it to a freezer bag. This way, you can enjoy a slice of your easy gluten-free bread whenever the craving strikes, without sacrificing quality or taste.
Conclusion on Easy Gluten-Free Bread
In wrapping up our journey with easy gluten-free bread, it’s clear this recipe is both manageable and rewarding. The combination of high-quality gluten-free flour, a touch of salt, and warm water crafts a dough that’s a delight to knead, while the yeast works its magic to give you that light, airy texture we crave. This bread not only serves as a staple in your kitchen but also opens doors to numerous delicious pairings from jams to sandwiches. Share it with friends or enjoy it solo—either way, this easy gluten-free bread proves that dietary restrictions don’t have to compromise flavor. Embrace the joy of baking!
Print
Gluten-Free Bread
- Total Time: 40 minutes
- Yield: 1 loaf 1x
- Diet: Gluten-Free
Description
A delicious gluten-free bread recipe that is easy to make and perfect for sandwiches or toasting.
Ingredients
Scale
- 2 1/2 cups all-purpose gluten-free flour
- 1 teaspoon xanthan gum (leave out if your flour already has it in it)
- 1 teaspoon gluten-free baking powder
- 1 packet rapid rise/instant yeast (2 1/4 teaspoons)
- 1/4 cup extra virgin olive oil
- 1/4 cup honey (You can use agave nectar or maple syrup)
- 1 teaspoon apple cider vinegar
- 1 1/2 cups warm water (100-110°F)
- 3 egg whites (from large eggs and room temperature)
- 1 teaspoon salt
Instructions
- Spray a 9-inch x 5-inch bread pan or 9-inch x 4-inch small Pullman loaf pan with gluten-free cooking spray.
- Move the top oven rack to the middle rack and preheat your oven to 350°F.
- Add the gluten-free flour, baking powder, and instant yeast to a large bowl and stir to combine the ingredients.
- Add the olive oil, honey, apple cider vinegar, and warm water to the flour mixture and mix on low for 1 minute.
- Add the egg whites and salt to the dough and mix on medium for 1 minute. The dough will look like a thick cake batter.
- Pour the dough into the greased loaf pan. Cover the pan with a kitchen towel and allow the bread to rise in a warm place for 30 minutes.
- Place in the oven to bake for 30 minutes. The bread will be golden brown with an internal temperature between 205-210ºF.
- Allow the loaf to cool for 10 minutes in the pan, then remove it from the pan and place it on a cooling rack.
- Once cooled, use a serrated knife to slice the bread.
- Store the leftover bread in an airtight container at room temperature or freeze it once completely cooled.
Notes
- The dough may be covered with plastic wrap sprayed with gluten-free cooking spray.
- For best results, do not pre-slice the bread before storing.
- To freeze, wrap tightly in plastic wrap, then foil or freezer paper, and place in a freezer bag for up to 3 months.
- Thaw in the refrigerator overnight.
- Prep Time: 10 minutes
- Cook Time: 30 minutes
- Category: Bread
- Method: Baking
- Cuisine: American
Nutrition
- Serving Size: 1 slice
- Calories: 120
- Sugar: 5g
- Sodium: 300mg
- Fat: 4g
- Saturated Fat: 0.5g
- Unsaturated Fat: 3g
- Trans Fat: 0g
- Carbohydrates: 20g
- Fiber: 1g
- Protein: 2g
- Cholesterol: 0mg